depix-马赛克逆转神器
最近有一个开源项目depix在github上面很火–通过特定的算法可将马赛克恢复。
公众号等纷纷对其具体展开。
对,就是这个depix!
站在巨人的肩膀上,来体验一下有趣的世界。
写在前面
为什么要写此文章呢?一来我觉得这个project十分有趣,能颠倒我的认识;二来有一点直觉,CTF可以围绕着这个方向去出题(如果不知道这个的话恐怕就做不了了)。所以就有了下面的文字。
预期准备
- 安装python
我觉得这一步可以直接略过,安装python和配置环境变量 - 下载GitHub上的depix文件
<a herf=”#可能遇到的问题” οnclick=”js_method()”>可能遇到的问题概述
来看一下项目的介绍
Depix is a tool for recovering passwords from pixelized screenshots.
This implementation works on pixelized images that were created with a linear box filter.
In this article I cover background information on pixelization and similar research.
一个可以将马赛克化后截图恢复的工具
作者给出的使用示例为
1 | python depix.py -p images/testimages/testimage3_pixels.png -s images/searchimages/debruinseq_notepad_Windows10_closeAndSpaced.png -o output.png |
使用方法
从屏幕快照中将像素块切为单个矩形
在这里作者给出的示例图1为
在具有相同字体设置(文本大小,字体,颜色,hsl)的编辑器中,粘贴带有预期字符的De Bruijn序列,制作序列的屏幕截图
作者给出的序列为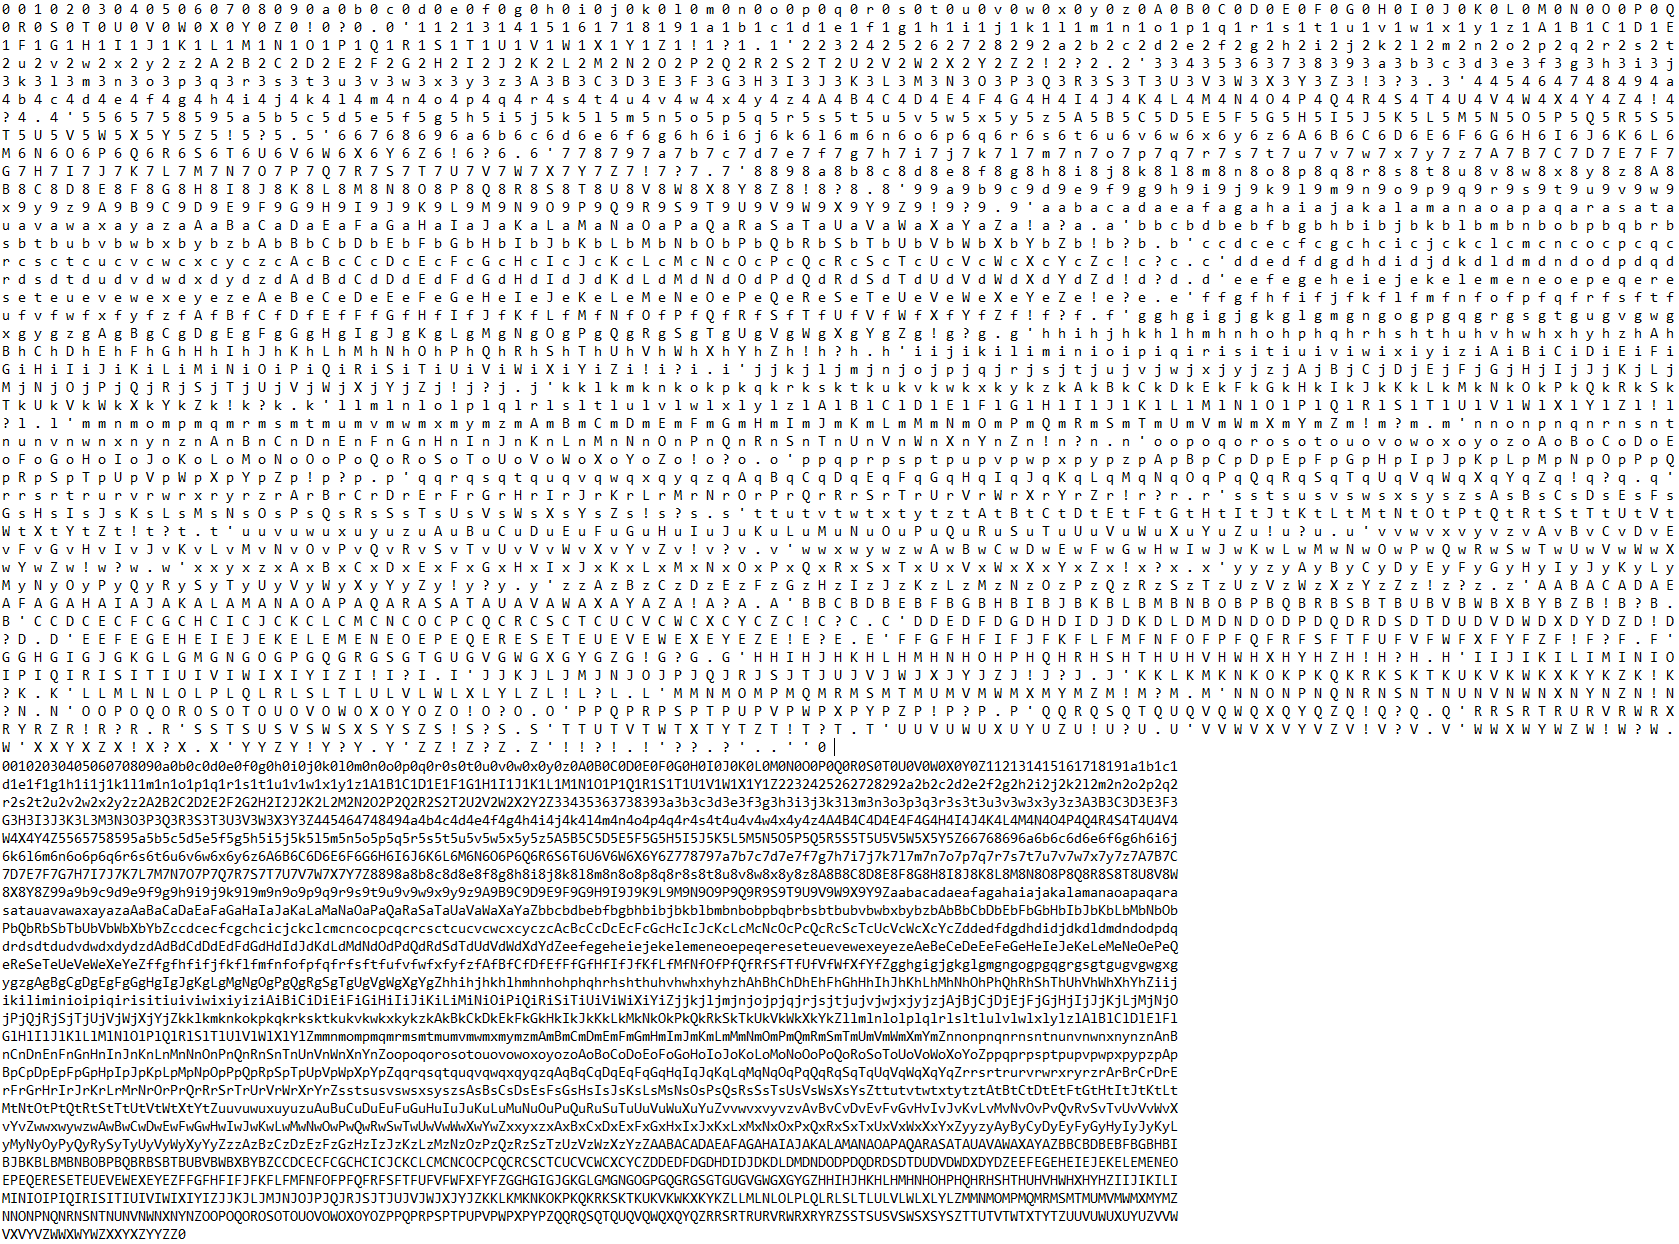
说白了也就相当于一个图像字典吧。
运行
1 | python depix.py -p [pixelated rectangle image] -s [search sequence image] -o output.png |
- [pixelated rectangle image] 这个参数是指被像素化后的图片
- [search sequence image] 指序列化图像(字典)
- -o 输出目录
进入指定的目录,使用cmd。在文件目录下输入
1 | python depix.py -p images/testimages/testimage1.png -s images/searchimages/debruinseq_notepad_Windows10_closeAndSpaced.png -o output.png |
在这里均使用了作者提供的默认图片,运行的时候需要一点时间。
还原后的图片

可能遇到的问题
ImportError: No module named PIL
未安装 pillow(python的图像处理库)这时候需要在文件目录键入一下命令。
pip install pillow
局限
目前该项目的局限性挺多,根据作者给出的算法解释
The algorithm uses the fact that the linear box filter processes every block separately. For every block it pixelizes all blocks in the search image to check for direct matches.
- 使用了“线性盒式滤波器”,也就是如果使用微信上的马赛克就会对还原效果产生影响。
- 同时在还原的时候需要将图像切割成相应的块。
- 需要用到序列化的图像,这也就意味着会给汉字的匹配带来许多困难。
- 无法实时逆转
写在后面
无论如何,depix始终是一个十分有趣的开源项目。(可能下一道misc就会与此有关)